Altered Lantern – Snip Art

Hello there my lovely followers!!! Wow, can you believe that 2020 is almost over?!! I for one can’t wait for 2021 to begin. Anyway today is my turn over on the Snip Art blog and for my last creation for 2020, I have altered this super cute lantern.

I have also go a video tutorial you are more than welcome to watch….. just click on it to go to my video. I have listed all the products used throughout the video.

I hope you enjoy my tutorial and I wish you all a very Merry Christmas xx

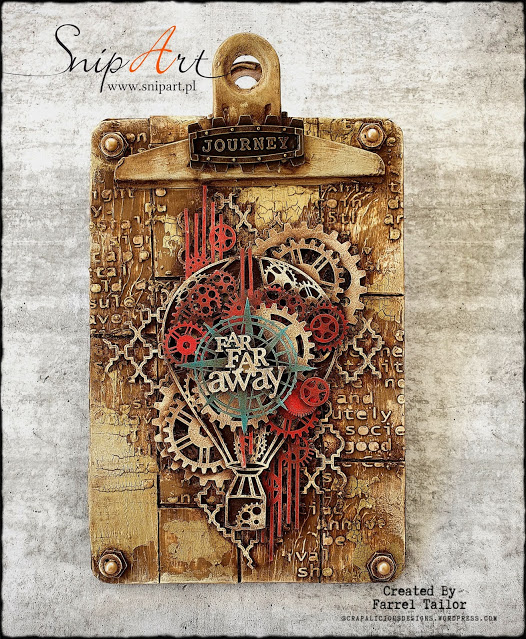
Far Far Away Altered Clipboard – Snip Art

Hello there my lovely followers, it’s my turn to share over on the Snip Art blog. You can click here to see everyone’s posts.

Now that we are into December, usually we would be planning trips to spend with family and friends for Christmas but unfortunately with the situation that a lot of us are in, that’s just not possible…. and that’s where I got my inspiration from for this project. I miss not being able to travel and thought the next best thing would be to create a project about travel instead.

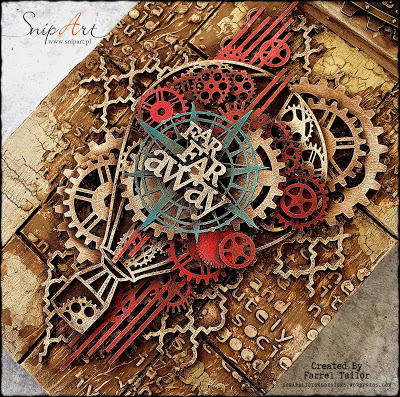
I bought the clipboard from a dollar store and used a wood grain tool for the background. I stenciled the background using modeling paste and Snip Art’s Text stencil. I then applied Stamperia Gold Crackle Paste and let dry.

I painted all my chipboard pieces with 3 acrylic paint colours – Cream, Red and Blue. I then adhered them to my clipboard. I also painted the metal clip with cream paint.

Once the glue had dried, I than covered the whole project with Stamperia’s Vintage Paste and using a baby wipe, I very gently wiped away the paste until I was happy with the result. To finish off the project I added a metal embellishment to the clip.


Snip Art Products Used

I hope you like my project and I look forward to bringing you my next project soon xx

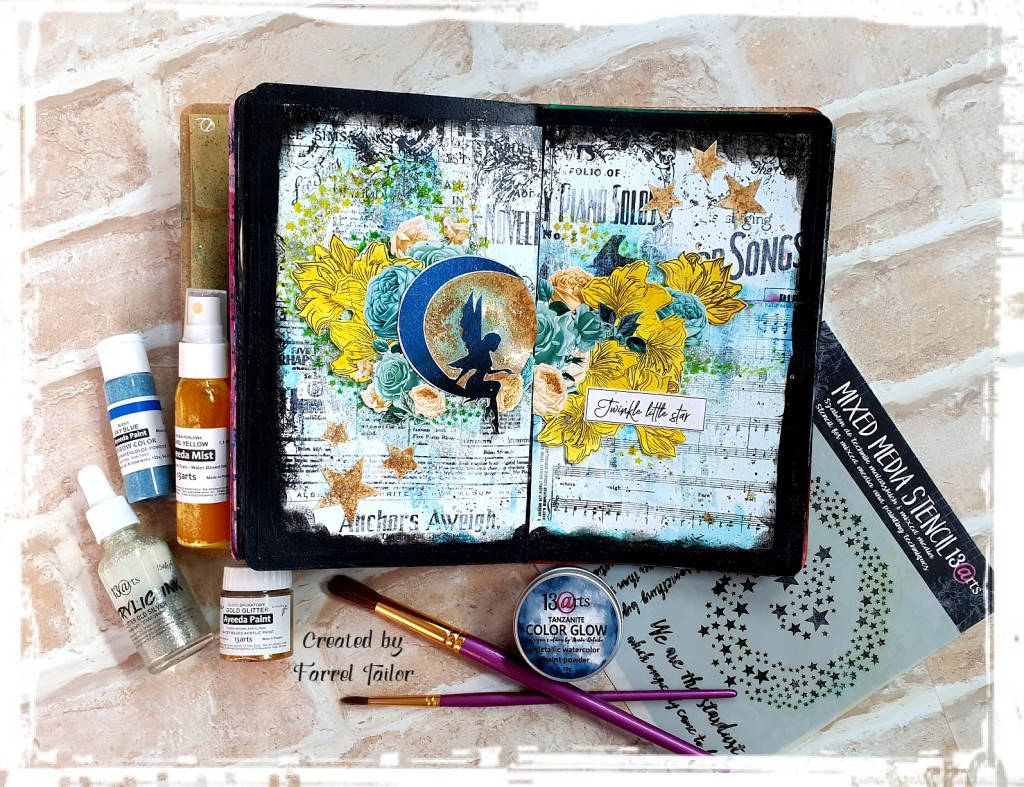
Twinkle Little Star Art Journal – 13@rts

Hi Everyone, Today I am sharing with you all my last project as a Guest Designer. I can’t believe how fast the last 3 months has gone, it has been a wonderful 3 months and I feel so blessed to have been able to create my projects using gorgeous 13@rts products. So for my last share, I have an art journal page using lots of different products.

I used my small Dylusions Art Journal for this piece and used Summer Rhapsody – Music is Everywhere as my background. I then covered with Gel Medium and then dry brushed white gesso over the top.

I then applied Rainbow watercolor powder and color glow to my background using a baby wipe to rub the colour onto my background as I wanted to add just a light colouring.

Next I mixed Pearl Yellow Ayeeda Mist with gel medium to create a paste and then stencilled the background using Cosmic Dust Stencil.

I stamped Sky Flowers stamp onto some mixed media cardstock and coloured them using Pearl Yellow mist. Then fussy cut the flowers and elements from Under The Stars A4 element sheet. After adhering it all to my art journal, I then used Acrylic Ink and Glitter paint to add some sparkle. I finished off with a black gesso border around the page and some splatters.

I hope you like my project and thank you for Aida for having me on your team.

Farrel xx

Materials Used

Summer Rhapsody Paper – Music is Everywhere

Stencil – Cosmic Dust

Ayeeda Mist – Pearl Yellow

Rainbow Watercolor Powder – Sky Blue

Color Glow – Tanzanite

Sky Flower Stamp

Under The Stars A4 Elements sheet

Ayeeda Paint – Gold Glittler

Acrylic Glitter Ink – Old Silver

Gel Medium – Transparent

White Gesso

Black Gesso

I Want to Stay Here Layout – Snip Art

Hi there everyone, today I am sharing a summer themed mixed media layout I created for Snip Art. Here in Australia it’s almost summer and as a family we love going to the beach and to go fishing. Here is my layout using a few of the amazing Snip Art collections.

The papers I used is Stamperia’s Around the World collection along with some corrugated cardstock from my stash. I used the Anchor stencil with some modeling paste on the background along with some stamps by Darkroom Door.

Then used Distress Oxides to build the background. I also coloured my background chipboard, Ships wheels and crab using the distress oxides along with both metallique and matte waxes.

The compass chipboard I painted with black gesso and then used metallique wax to highlight. For the title piece I used acrylic paint and then inked around the edges. To finish off the layout I used some metal castings by Mitform.

Snip Art Products Used

Thanks for dropping by and I will be back with another project soon xx

Altered Violin – Snip Art

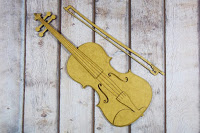
Hi Everyone, today is my turn over on the Snip Art blog and I get to share my altered violin with you all. I have been wanting to do an altered violin for so long and was very excited to get started on this one. I am so happy with how it turned out.

 I used a mixture of Snip Art chipboard and moulds from different companies including Prima and Stamperia for this project. The moulds are both resin and paper clay.

I used brown acrylic paint as my base coat and then used matte waxes and metallic waxes to highlight all the different layers.

Snip Art Products Used

I hope you like my project and look forward to being back soon with another one xx

Snip Art November Mood Board Challenge

Hi Everyone, This month I got to participate in Snip Art’s mood board challenge.

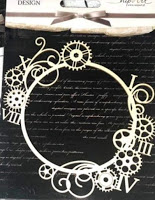
For this challenge I decided to create a layout using the gears and colours as my inspiration.

To see the other designers amazing projects, just click here to go to Snip Art’s blog. We would love to have you join us this month in the challenge…. all you have to do is use their chippy and mood board for inspiration, then upload to their blog.

I used Distress oxides to build my background along with 3Quarter Designs mini kit – Grunge Mayhem. For the cogs, I used Finnabair’s rust effect paste and military effect paste (I also used this one on my background with some white texture paste). I added some stamping to the background using Tim Holtz Mini glitch set.

Snip Art Products used

Thanks for dropping and I will be back tomorrow with another Snip Art project xx

Smell the Roses – 13Arts

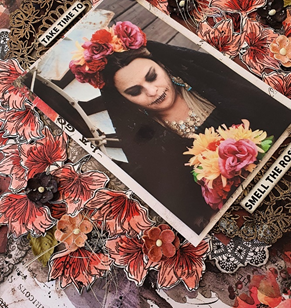
Hello Everyone, I am back to share with you all my second project as a guest designer for 13Arts. Here in Australia we aren’t really big on celebrating Halloween but I recently I went on a scrapbooking retreat and decided to dress up as Day of the Dead. Straight away I knew I had the perfect 13Arts collection to go with my photo.

To begin I cut 2 of the Unforgettable 12×12 pattern papers in half and then adhered them side by side onto some plain cardstock. To cover the joins I fussy cut out the lace from “Timeless” pp. I also used Unforgettable A6 paper pad and the left over pieces from the other 2 sheets to create a photo mat.

Next I stamped the Sky Flowers onto some white cardstock and then coloured them using Ayeeda Chalk Ink Burnt Sienna and Ayeeda Water Based Ink – Scarlet.

After fussy cutting them and adhering to my layout, I then used the doily from the Unforgettable Chipboard sheet and covered with black ink. Then used a gold wax to cover and cut in half before adhering to the layout. For the title of the layout I used Rosalie’s Letters 12×12 sheet.

Next I used Ayeeda Water Based Ink – black to the background and for splattering. I also used it to colour my Ayeeda Powder – gravel and my flowers.

To finish off the layout I added the powder, sisal and some elements from the Unforgettable Ephemera pack. I then then drew some lines around the edge of the layout.

I hope you enjoyed tutorial and can’t wait to be back with another share next month.

Farrel xx

13Arts Materials Used

Unforgettable Chipboard Set

Unforgetttable Ephemera Pack

Sky Flowers A7 Stamp

Unforgettable – Wreath of Memories

Unforgettable – Timeless

Unforgettable – A Day to Remember

Unforgettable A6 paper pad

Ayeeda Chalk Ink Burnt Sienna

Ayeeda Water Based Ink – Black Graphite

Ayeeda Water Based Ink – Scarlet

Ayeeda Powders – Dyed gravel

Rosalie’s letters cardstock

Happy Haunting Altered Frame – Snip Art

 Hi Everyone today I am up on the Snip Art blog with a new project.

I was so excited when Snip Art released their new designs and there was chipboard for Halloween!! I know we don’t celebrate Halloween much here in Australia but I love it so doing Halloween type project was what I was going to do.

The frame I used is by Ikea, I used texture paste and black gesso on frame and then highlighted using Art Alchemy Waxes.

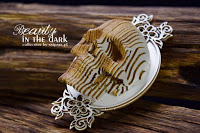
I stenciled onto my snip art MDF tag using their mask – wood and texture paste. I painted the tag, 3D Skull, Open Roses and Halloween Set chipboard with black gesso and used the same waxes as the frame to add colour and highlights.

I sprayed the flowers with a black spray and highlighted with a wax and then adhered the tag to the clear board in the frame.

Snip Art Products

Thanks for dropping by and I hope you all have a spooktacular Halloween xx

Clockwork Carols Album – 3Quarter Designs

Today I am sharing my last Design Team Post for 3Quarter Designs. I feel so privileged to have been apart of such an amazing team and wish the team all the very best for the future.

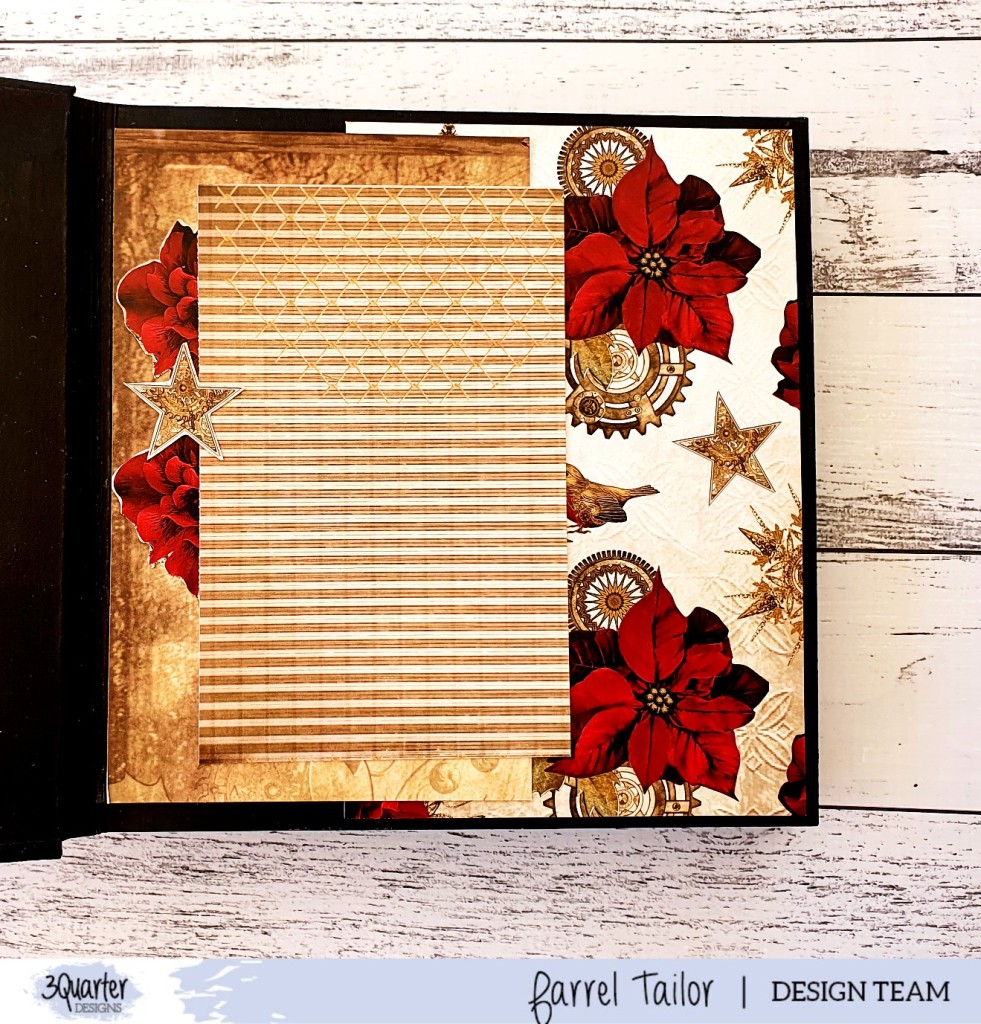
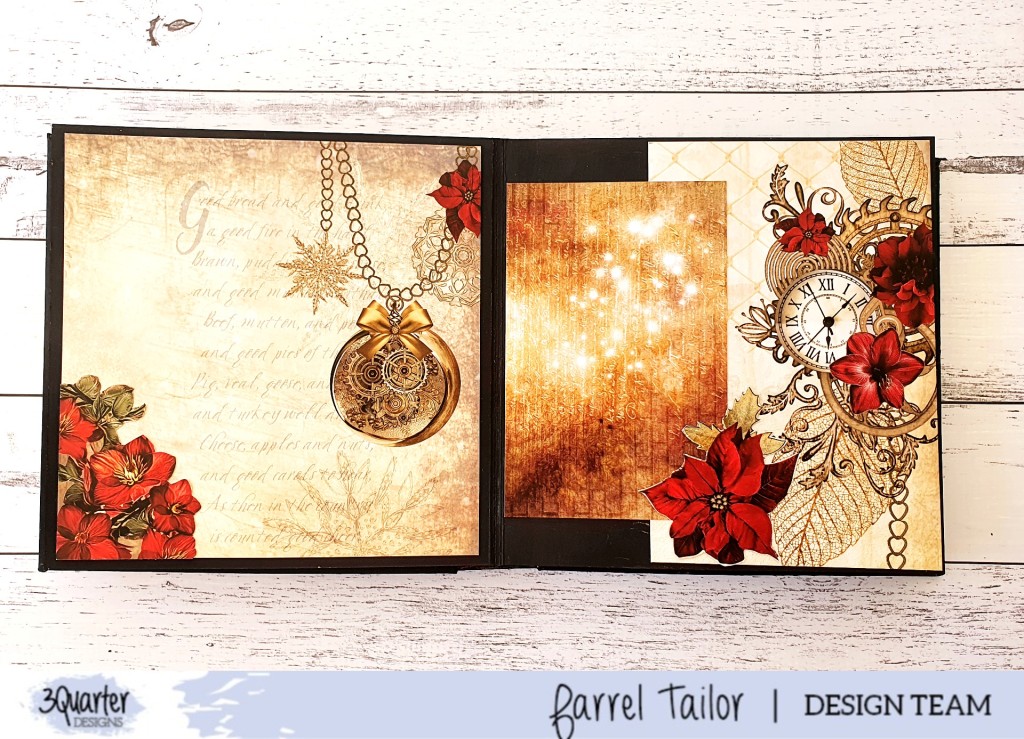
So for my last DT project, I decided to create another album using nearly the whole pack of Clockwork Carols.

I have taken photos of all the pages I did, I used Stamperia’s chipboard album for this project.

Thanks for dropping in and I will be back with another project real soon xx

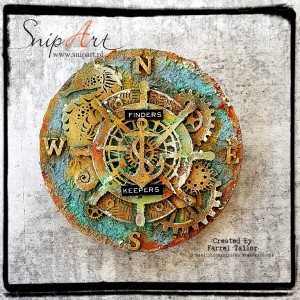
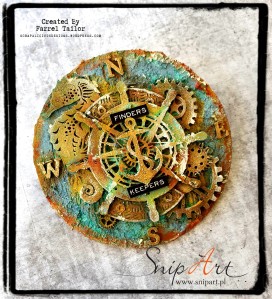
Finders Keepers – Snip Art Mixed Media CD

 Good Morning Everyone, today I get to share with you my latest mixed media project….. an altered CD using chipboard from Tropical Adventures, Jolly Rogers and Industrial Factory collections.

For this project I have a process video which is below, I have listed the products used throughout the video.

Snip Art Products Used

Thanks for dropping by and I hope you liked my tutorial xx